Microneedling has become a go-to skincare treatment for those seeking smoother, firmer, and more youthful-looking skin. Whether you want to reduce fine lines, acne scars, or improve skin texture, microneedling offers an effective solution. With advanced technology, you can now experience the benefits of this popular procedure from the comfort of your own home.
In this blog, we’ll dive into the benefits of microneedling, what to expect during the process, and How to Microneedle at Home Step by Step.
What is Microneedling?
Microneedling, also known as collagen induction therapy, is a minimally invasive treatment that uses tiny needles to create micro-injuries on the skin’s surface. This stimulates the skin’s natural healing process and boosts collagen production, resulting in firmer, smoother, and more youthful skin over time.
Top Benefits of Microneedling:
- Reduces fine lines and wrinkles: Stimulates collagen and elastin production, smoothing out fine lines and giving your skin a youthful appearance.
- Improves skin texture: Enhances smoothness and refines skin texture by encouraging skin cell turnover.
- Diminishes acne scars and hyperpigmentation: Helps fade dark spots and acne scars, resulting in a more even skin tone.
- Minimizes pore size: The treatment helps tighten pores and reduces the appearance of enlarged pores.
- Increases product absorption: Microneedling opens up channels in the skin, allowing for better absorption of skincare products like serums and moisturizers.
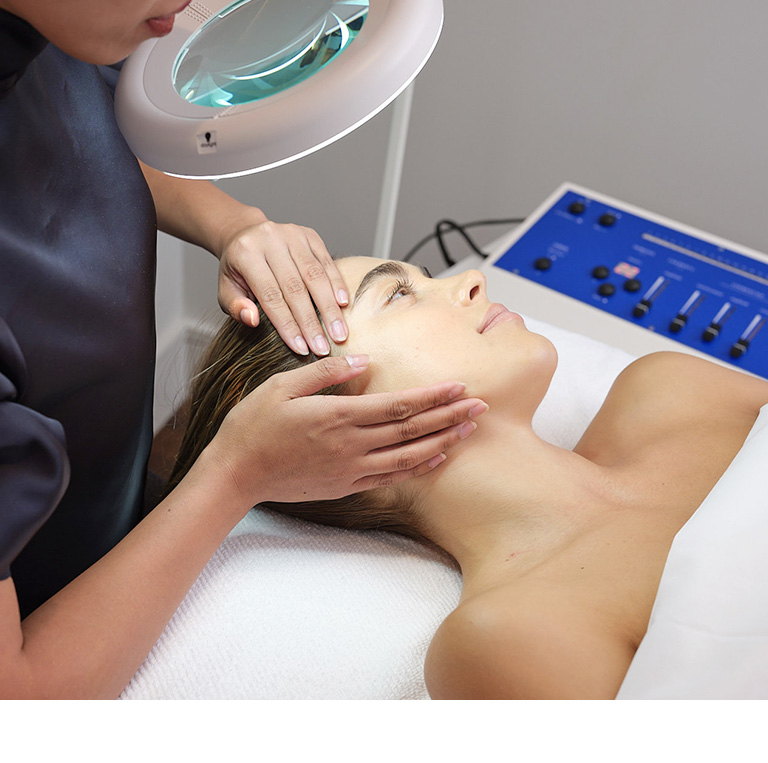
Microneedling: In-Office vs. At-Home
While professional microneedling treatments offer more intense results, at-home microneedling can be a great way to maintain your skin between treatments or for those who prefer a more affordable option. At-home microneedling devices feature shorter needles, making them safe for personal use, though they may take longer to achieve the same results as in-office treatments.
How to Microneedle at Home: Step-by-Step
Microneedling at home requires the right technique to ensure safety and effectiveness. Follow these steps for a successful at-home microneedling session:
1. Cleanse Your Skin Thoroughly
Before microneedling, it’s important to start with clean skin. Use a gentle cleanser to remove any dirt, oil, or makeup from your face. This will prevent bacteria from entering the micro-channels created by the needles and reduce the risk of infection.
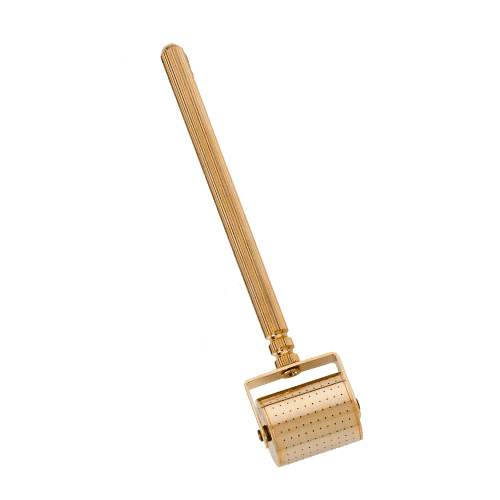
2. Sanitize Your Microneedling Tool
Always sanitize your microneedling tool with rubbing alcohol or Micro-Needling Instrument Cleansing Solution before and after each use. This ensures that the device is free of bacteria and safe to use on your skin. Make sure to let it air dry before starting your treatment.

3. Roll the Microneedling Tool Gently
When using a microneedling roller or pen, apply gentle pressure and roll it over your skin in horizontal, vertical, and diagonal motions. Here’s how to cover your face effectively:
- Forehead: Roll from the center of your forehead outward.
- Cheeks: Roll vertically from the jawline to the top of your cheekbone, then switch to a horizontal motion.
- Chin and jawline: Roll outward from the center of your chin along the jawline.
- Nose: Roll vertically down the bridge and sides of your nose.
Avoid sensitive areas like your eyelids and lips. You should never press too hard—let the tool do the work, as pressing too hard can cause damage.
4. Apply a Serum or Moisturizer
One of the key benefits of microneedling is its ability to enhance product absorption. After microneedling, apply a serum rich in hyaluronic acid, peptides, or vitamins A and C. These ingredients help boost collagen production, hydrate the skin, and speed up the healing process. Make sure to avoid products with active ingredients like retinoids or acids immediately after microneedling, as they may cause irritation.
5. Follow Up with Sunscreen
After microneedling, your skin is more sensitive to UV rays. It’s crucial to apply a broad-spectrum sunscreen (SPF 30 or higher) to protect your skin from sun damage. If you’re microneedling at night, apply sunscreen the next morning.
How Often Should You Microneedle at Home?
The frequency of at-home microneedling depends on the length of the needles you’re using. For shorter needles (0.1mm – 0.3mm), you can microneedle 1-2 times per week. If you’re using longer needles (up to 0.5mm), it’s recommended to space out sessions and microneedle once every two weeks to give your skin time to heal.
What to Avoid After Microneedling
After microneedling, it’s important to avoid the following for at least 24-48 hours:
- Makeup: Give your skin time to heal without covering it with makeup.
- Excessive sweating: Avoid intense exercise or saunas, as sweat can irritate the micro-injuries.
- Harsh skincare products: Stay away from exfoliants, retinoids, or acids immediately after microneedling, as they may cause irritation.
- Direct sun exposure: Protect your skin from the sun, as it will be more sensitive to UV rays after microneedling.
Is Microneedling at Home Safe?
Yes, microneedling at home is generally safe as long as you follow the proper steps and use the right needle length. It’s essential to sanitize your tools and avoid pressing too hard on your skin. However, if you have any skin concerns, such as active acne, rosacea, or eczema, consult a dermatologist before starting at-home microneedling.
At-home microneedling is an effective way to improve your skin’s texture, boost collagen production, and maximize the benefits of your skincare products. With the right technique and consistent use, you can enjoy the long-term benefits of a firmer, smoother, and more radiant complexion.